Classic Granny Square Crochet Pattern: Beginner Guide
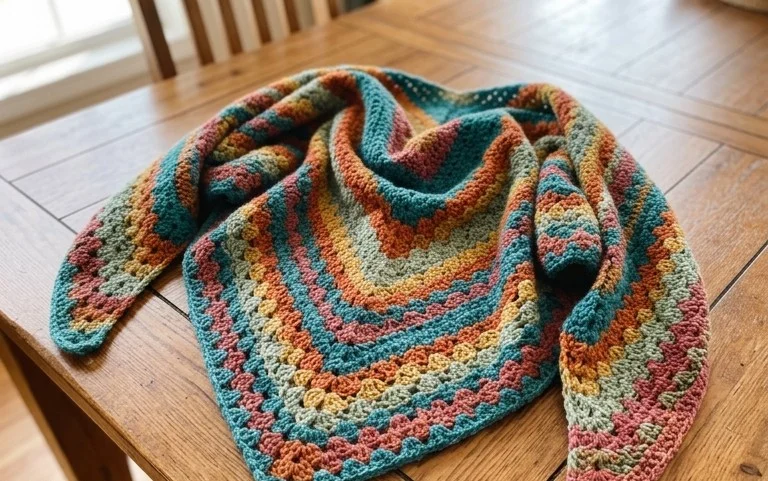
A stack of finished squares has a satisfying weight, with each corner sitting flat and every stitch showing off a neat, uniform texture. This project is a quiet companion for long afternoons, suiting anyone who enjoys seeing a piece grow round by round in their hands. Beginners find comfort in the repetitive motion of the double crochet clusters, while makers looking to clear out their yarn stash appreciate the flexibility of changing colors on a whim. You will learn the precise tension needed to keep the edges straight and how to join your rounds without visible seams.
Why You’ll Love This Pattern
The Classic Crochet Granny Square is the foundation of many heirloom blankets and stylish garments. This specific pattern focuses on a clean, traditional 5-round design that emphasizes proper stitch height and corner tension to ensure the finished square lies perfectly flat. Because it relies on basic chains and double crochet clusters, it is a low-stress project that allows you to establish a consistent rhythm. It is an ideal way to use up leftover yarn scraps, as each round can be worked in a different color to create a unique aesthetic.
I finally learned how to make these without the square curling up at the corners. The instructions for the chain spaces make all the difference in keeping the edges straight.
— Sarah, beginner crocheter
Pattern Overview & Skill Level
- Skill Level: Beginner
- Approximate Time: 30-45 minutes per square
- Construction: Worked in joined rounds, turning after each round for a balanced square
- Finished Dimensions: Approximately 6 inches by 6 inches using standard worsted weight yarn
Materials & Supplies Needed
- Yarn: Worsted weight #4, 100% acrylic or wool blend, approximately 25 yards per square
- Hook Size: 5.0 mm (US H-8)
- Notions: Yarn needle for weaving in ends, scissors, and a measuring tape
- Safe yarn substitutions: You may use DK weight yarn with a 4.0 mm hook for a smaller, tighter square, or bulky weight yarn with a 6.0 mm hook for a larger, quicker square. Note that gauge changes will affect the total yarn required and the final dimensions.
Stitch Guide & Abbreviations (US Terms)
- ch = chain
- dc = double crochet
- sl st = slip stitch
- st/sts = stitch/stitches
- sp = space
- Cluster = a group of 3 dc stitches worked into the same space
- Shell = (3 dc, ch 2, 3 dc) worked into a corner space
Step-by-Step Pattern Instructions
Granny Square Body
- Rnd 1: Start with a magic ring. Ch 3 (counts as first dc), work 2 dc into ring, ch 2, 3 dc, ch 2 3 times. Join with a sl st to the top of the initial ch-3. (12 sts)
- Rnd 2: Sl st into the next ch-2 corner sp. Ch 3, (2 dc, ch 2, 3 dc) in same sp, ch 1, (3 dc, ch 2, 3 dc) in next corner sp 3 times. Join with a sl st to the top of the initial ch-3. (24 sts)
- Rnd 3: Sl st to the next ch-2 corner sp. Ch 3, (2 dc, ch 2, 3 dc) in same sp, ch 1, 3 dc in next ch-1 sp, ch 1, (3 dc, ch 2, 3 dc) in next corner sp 3 times. Join with a sl st to the top of the initial ch-3. (36 sts)
- Rnd 4: Sl st to corner sp. Ch 3, (2 dc, ch 2, 3 dc) in same sp, ch 1, (3 dc in next ch-1 sp, ch 1) twice, (3 dc, ch 2, 3 dc) in corner sp 3 times. Join with a sl st to the top of the initial ch-3. (48 sts)
- Rnd 5: Sl st to corner sp. Ch 3, (2 dc, ch 2, 3 dc) in same sp, ch 1, (3 dc in next ch-1 sp, ch 1) three times, (3 dc, ch 2, 3 dc) in corner sp 3 times. Join with a sl st to the top of the initial ch-3. Fasten off and weave in ends. (60 sts)
Care & Washing Instructions
- Machine wash on a gentle cycle in cool water (max 30C) using a mild detergent.
- Lay the square flat on a clean towel to air dry, reshaping it into a perfect square while damp.
- Do not iron or bleach, as this may distort the stitch definition and soften the fibers beyond their intended texture.
Pro Tips & Common Mistakes to Avoid
Maintain consistent tension by ensuring your yarn carries the same amount of slack throughout every round; variations in tension are most visible in the corner chain spaces. Place a removable stitch marker in the first ch-3 of every round to easily identify where to join, as the starting chain can sometimes be mistaken for a standard dc. When weaving in your ends, run the yarn tail through the bases of the stitches on the back side of the work rather than pulling through the front, which keeps the finish invisible. If you want to adjust the size, simply add more rounds using the same increase pattern of (3 dc in each side sp, ch 1) to grow the square, though keep in mind that larger squares will require proportionally more yarn.
Frequently Asked Questions
Can I use cotton yarn for this square?
Yes, cotton yarn works well and provides great stitch definition. Note that cotton has less stretch than acrylic or wool, so you may need to block the square more firmly to keep it square.
Why is my square twisting or cupping?
Cupping usually means your tension is too tight or you are missing chain stitches in the corners. Ensure you are working a chain-2 in every corner and a chain-1 between the side clusters.
Is this pattern suitable for complete beginners?
Yes, this pattern uses only the double crochet stitch and chains. If you are comfortable with these two movements, you have all the skills necessary to complete this project successfully.
Can I sell the squares I make from this pattern?
You are welcome to sell finished items made from this pattern, but please credit the original pattern design when sharing your work online or in craft markets.
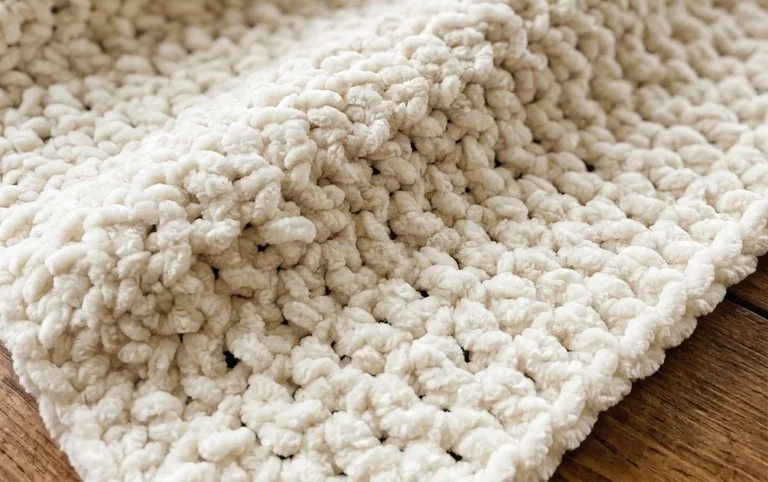
Your finished square is now ready to join others to form a blanket or a simple decorative coaster for your side table. Try using a variegated yarn for a surprising blend of colors that develops as you work each row. I love seeing how these turn out in different colorways, so please share a photo of your work on Instagram or Pinterest to show your progress. Visit my main index for more free patterns that use these same basic techniques for your next project.