Easy Cable Headband Crochet Pattern: Free Step-by-Step
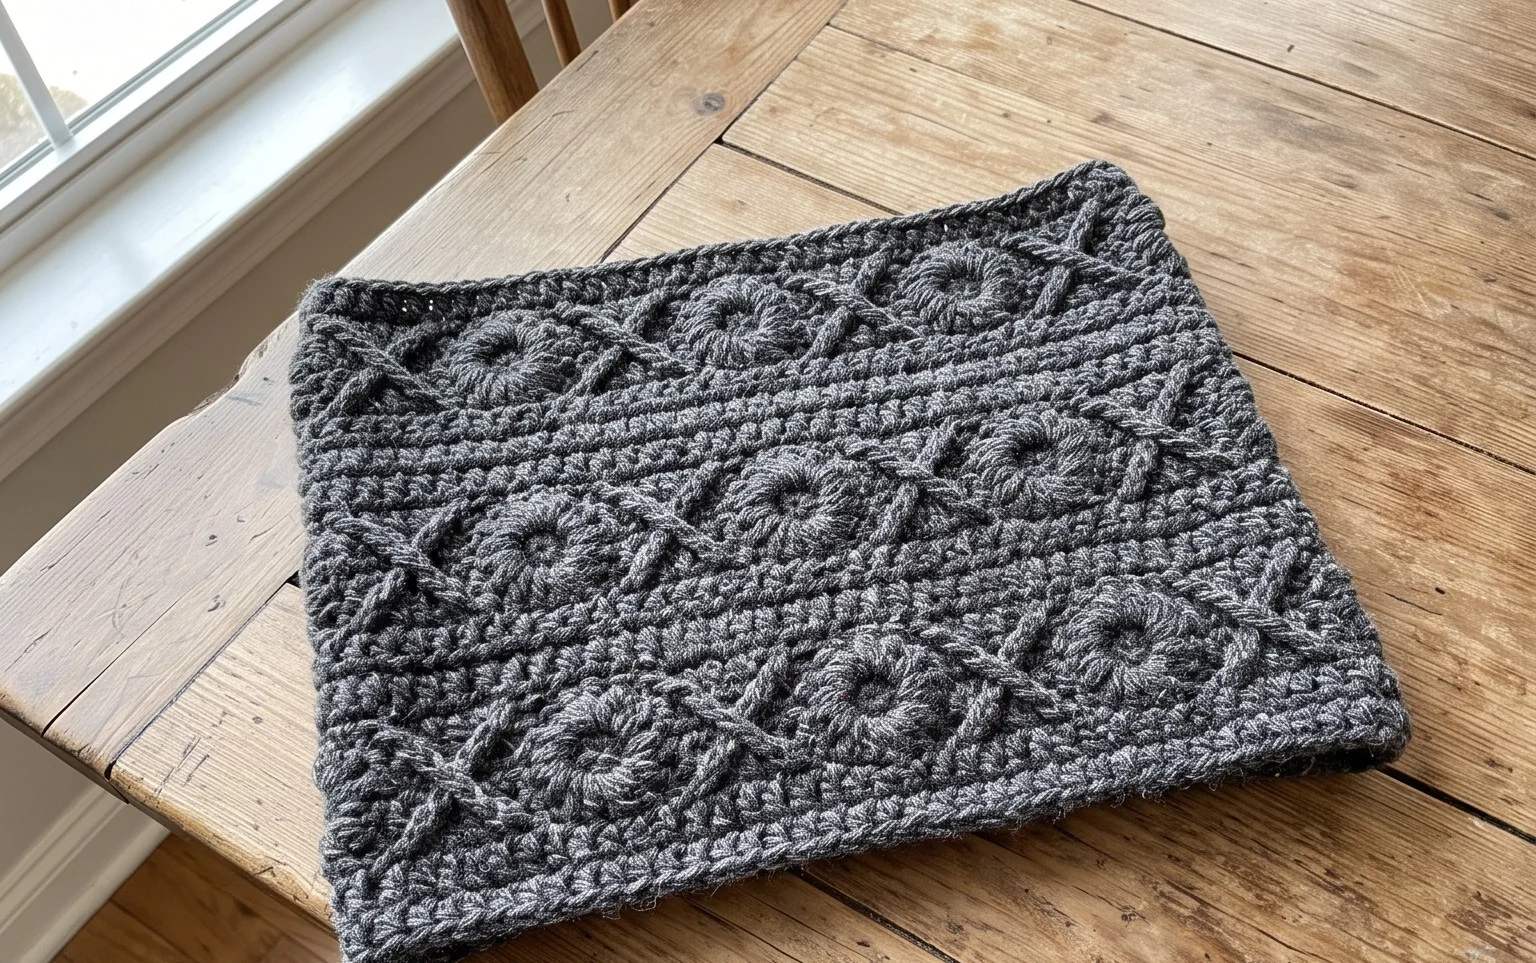
Soft wool against your ears provides the exact warmth needed for crisp morning walks or breezy afternoons spent outdoors. This headband features a classic twisted cable texture that feels surprisingly substantial despite its simple construction. Beginners appreciate how the repeating pattern builds confidence without requiring complex maneuvers. You get to practice working rows back and forth before finishing with a quick seam that brings the entire piece together. It makes a thoughtful gift for friends or a stylish addition to your own winter accessories. Following this guide, you will master the specific stitch sequence needed to create depth and warmth in your handmade work.
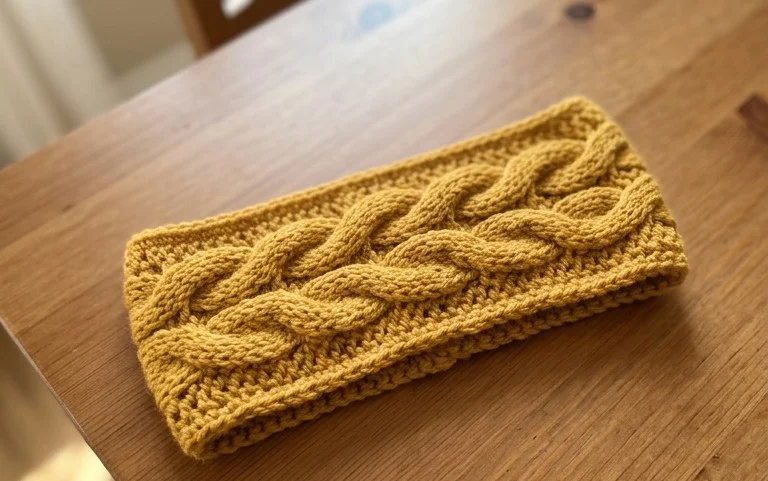
Why You’ll Love This Pattern
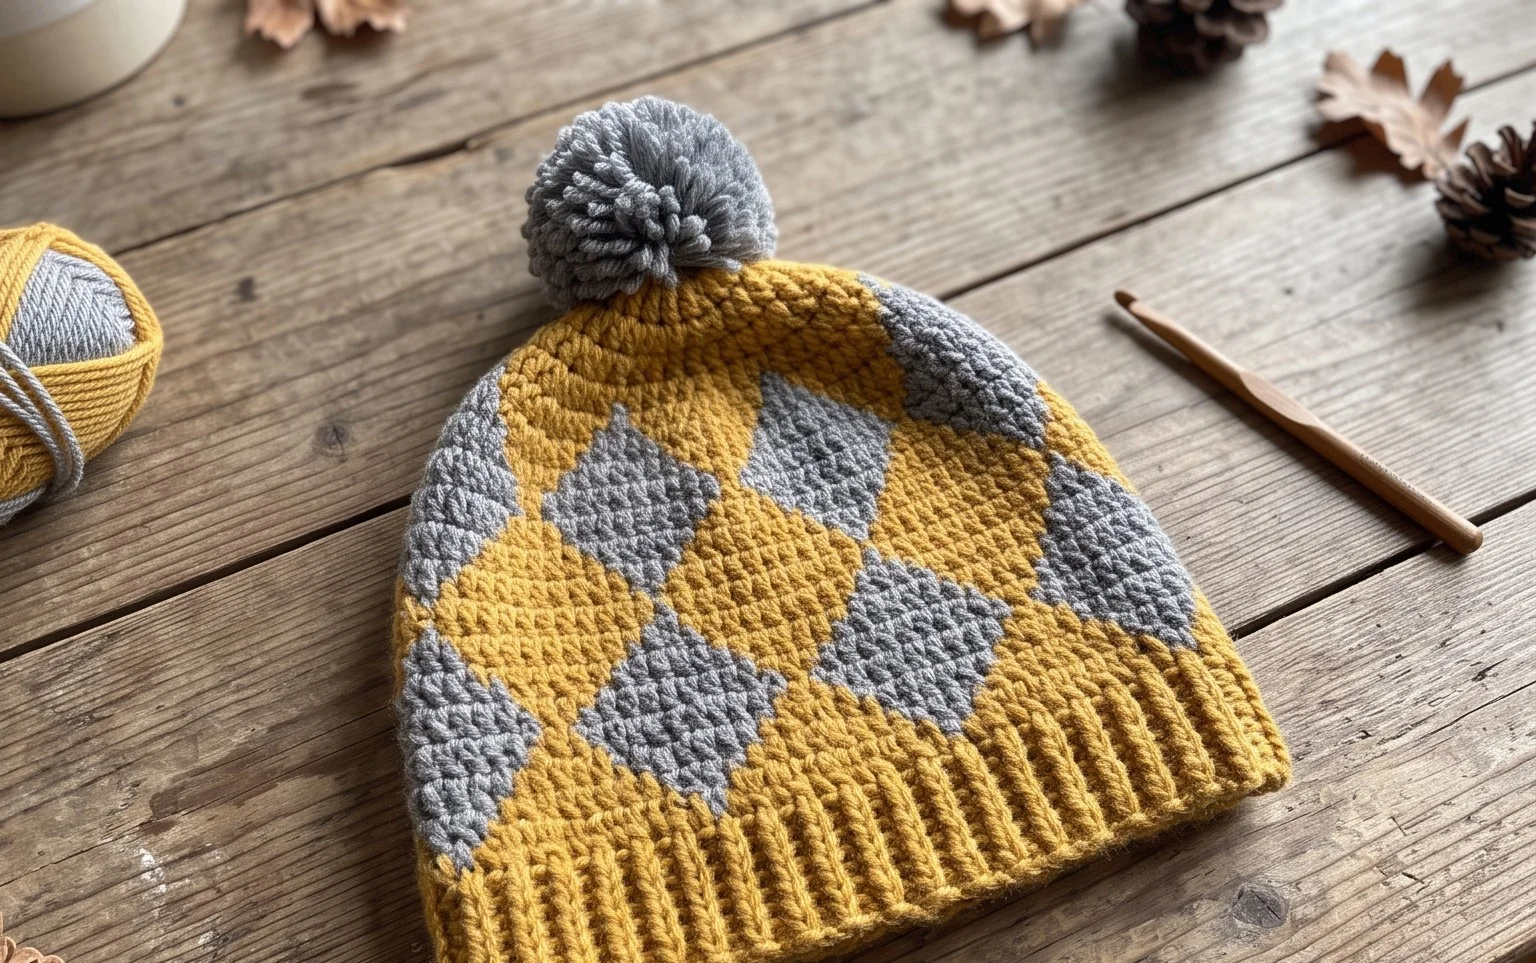
This beginner-friendly crochet beanie works up quickly using basic stitches, making it a reliable project for those who want to practice tension and stitch consistency. The construction relies on a simple rectangle worked in rows, which is then folded and seamed to create a comfortable, slouchy silhouette. Because it uses a medium-weight yarn, the fabric offers a balance between warmth and breathability, suitable for transition seasons. You can finish this project in a single weekend, and its clean, classic aesthetic ensures it pairs well with any winter wardrobe.
I managed to finish this hat in just one afternoon and the ribbed texture looks much more professional than I expected for such an easy pattern.
— Sarah, hobbyist crocheter
Pattern Overview & Skill Level
- Skill Level: Beginner
- Approximate Time: 3 to 5 hours
- Construction: Flat panel worked in rows, then seamed to form a tube
- Finished Dimensions: 9 inches wide by 11 inches tall (stretches to fit standard adult head sizes)
Materials & Supplies Needed
- Yarn: Worsted weight (#4), approximately 200 yards of wool or acrylic blend.
- Hook Size: 5.5 mm (US I-9).
- Notions: Tapestry needle for seaming, stitch markers to track row ends, and sharp scissors.
- Yarn Substitutions: Cotton yarn will result in a heavier, less stretchy hat, while alpaca blends will provide extra warmth and a softer drape. Avoid bulky yarns as they will significantly increase the final circumference.
Stitch Guide & Abbreviations (US Terms)
- ch = chain
- sc = single crochet
- sl st = slip stitch
- BLO = back loop only (insert hook under the back loop of the stitch instead of both loops to create a ribbed effect)
- st(s) = stitch(es)
Step-by-Step Pattern Instructions
Main Body Panel
Work back and forth in rows. Ch 45 to begin.
- Row 1: Sc in the second ch from hook and each ch across. (44 sts).
- Rows 2–60: Ch 1, turn. Sc in the BLO of each st across. (44 sts).
Assembly and Finishing
Once you reach row 60, fasten off, leaving a 20-inch tail of yarn for seaming. Fold the rectangular piece in half so that the short ends meet. Using your tapestry needle and the long tail, sew the short ends together using a whip stitch to form a tube. Turn the tube inside out so the seam is on the interior. Take the remaining length of yarn and weave it through one of the open circular edges. Pull the yarn tail tight to gather the top of the hat closed, securing it with a few reinforcement stitches. Weave in all loose ends securely to prevent unraveling.
Care & Washing Instructions
- Hand wash in cool water with a gentle wool-safe detergent.
- Do not wring out the excess water; instead, roll the hat in a clean towel and press firmly.
- Lay the hat flat on a dry towel away from direct sunlight to reshape and air dry completely.
Pro Tips & Common Mistakes to Avoid
- Maintain consistent tension throughout the rows; if your tension is too tight, the BLO ribbing will lose its natural stretch.
- Always place a stitch marker in the first stitch of every row to ensure you do not accidentally skip the final stitch, which would cause the edges to become uneven.
- When weaving in your ends, run the yarn through the interior stitches of the same color to ensure the finish remains invisible from the outside.
- To adjust the size, simply add or remove chains at the start for a different length or work more or fewer rows to change the head circumference; note that changing rows will require more or less yarn than the 200 yards specified.
Frequently Asked Questions
Can I substitute this with a chunky weight yarn?
Using a chunkier yarn will result in a much larger, stiffer hat. If you choose a heavier weight, you must reduce your starting chain count and the total number of rows to accommodate the larger gauge.
Is this pattern suitable for someone who has never held a hook?
Yes, this project relies exclusively on the single crochet stitch. Practice making a small practice square before starting the full piece to ensure you are comfortable identifying the back loops.
Can I sell the finished beanies I make from this pattern?
You are welcome to sell items made from this pattern provided you credit the designer. Please use your own photos for any listings rather than using the original pattern photography.
Why is my hat shaping into a trapezoid instead of a rectangle?
This usually happens if you miss the final stitch of each row. Counting your stitches at the end of every row ensures you maintain the required 44 stitches throughout the entire panel.
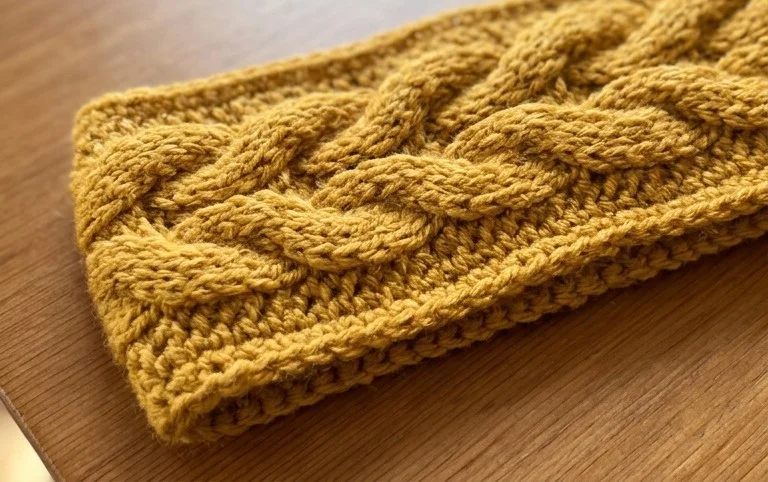
Your finished headband adds a cozy layer of texture to any outfit while keeping you comfortable during chilly days. Consider experimenting with a variegated yarn to highlight the cable details or adjust the length to fit children by removing two starting rows. Posting a photo of your work on social media helps other makers see the potential in this design. You can find more free projects and seasonal patterns by browsing the archive section on the main blog page to continue building your handmade collection.