12 Free Witch Hat Crochet Patterns: Easy Step-by-Step
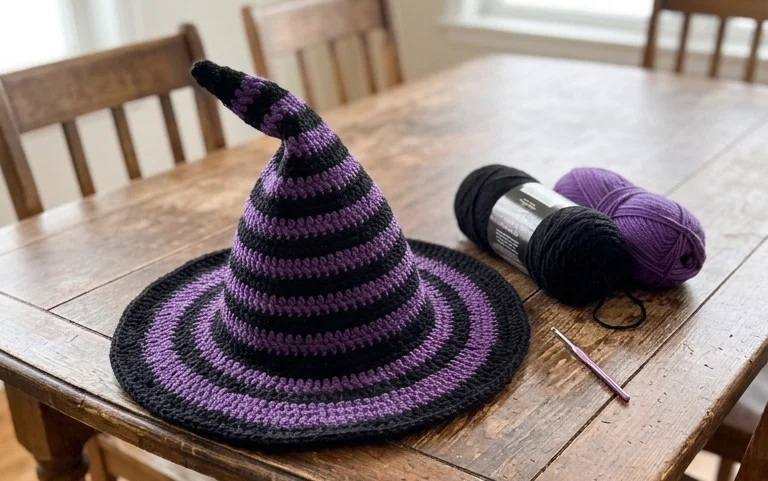
A tall, pointed crown with a wide, floppy brim makes these projects stand out as classic seasonal accessories. You will find that these patterns range from miniature ornaments for your desk to full-sized versions for costumes or home decor. Making them provides a quick way to practice shaping stitches while working with festive colors like deep charcoal, orange, or forest green. Even if you are just starting your journey with a hook and yarn, you can assemble these hats by mastering basic increases and decreases. These projects offer a satisfying way to decorate your space for October festivities.
Why You’ll Love This Pattern
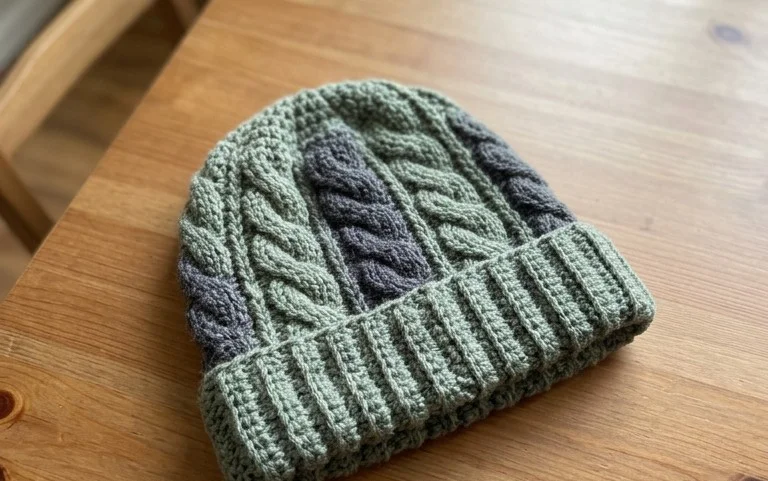
This beginner-friendly crochet beanie relies on a simple repeating pattern of half-double crochet stitches worked in the back loops, creating a sophisticated ribbed texture that mimics expensive knitwear. Because it uses a medium-weight yarn and a larger-than-average hook, the project works up quickly, often in a single afternoon. It is an ideal stash-buster for those odd skeins of yarn left over from larger projects. Since the construction is essentially a flat rectangle seamed into a tube, you avoid the complexity of shaping crowns or complex increases.
I managed to finish this hat in one evening while watching a movie. The texture is lovely and the fit is perfect for a gift.
— Sarah, casual crafter
Pattern Overview & Skill Level
- Skill Level: Beginner
- Approximate Time: 3 to 5 hours
- Construction: Worked flat in rows to create a rectangle, then seamed to form a tube with one end gathered shut.
- Finished Dimensions: 9 inches wide by 10 inches tall (fits average adult head circumference of 21–23 inches).
Materials & Supplies Needed
- Yarn: Worsted weight (#4), wool or acrylic blend, approximately 200 yards.
- Hook Size: 5.5 mm / I-9.
- Notions: Tapestry needle, locking stitch marker, scissors, and a measuring tape.
- Safe Yarn Substitutions: You can use a heavy DK weight yarn to create a lighter drape, though you will need to add two additional foundation chains to maintain the size. Avoid cotton yarn, as it lacks the necessary stretch required for a comfortable beanie fit.
Stitch Guide & Abbreviations (US Terms)
- ch = chain
- hdc = half-double crochet
- BLO = back loop only (insert hook into the back loop of the stitch rather than both loops to create ribbing).
- st/sts = stitch/stitches
- sl st = slip stitch
- FO = fasten off
Construction Technique
The hat is created by working rows of hdc BLO. Every row is the same, making it very rhythmic. Once the rectangle reaches the desired length, the piece is folded and joined by slip stitching the edges together before gathering the top.
Step-by-Step Pattern Instructions
Main Hat Body
- Row 1: Ch 41. Hdc in the second ch from the hook and each ch across. (40 sts)
- Row 2: Ch 1, turn. Hdc in the BLO of each st across. (40 sts)
- Rows 3–50: Repeat Row 2 until the piece measures approximately 18 inches unstretched. (40 sts per row)
- Finishing: Do not cut the yarn. Fold the rectangle in half, matching the short ends.
Assembly and Closing
- Seaming: Slip stitch through both thicknesses (the foundation edge and the final row) to join the rectangle into a tube. (40 sl sts)
- Gathering: Fasten off, leaving a 12-inch tail. Thread the tail onto a tapestry needle. Weave the needle in and out of the ends of the rows along the top edge of the tube. Pull the yarn tail tight to close the hole securely.
- Final Step: Secure the thread with a double knot on the inside of the hat and trim the excess. Turn the hat right side out.
Care & Washing Instructions
- Hand wash in cool water using a gentle wool-safe detergent to preserve the shape.
- Gently squeeze out excess water with a towel, but do not wring or twist the fabric.
- Lay the hat flat on a dry towel away from direct sunlight to air dry completely.
Pro Tips & Common Mistakes to Avoid
Maintain consistent tension throughout the project. If your edges are curling, you are likely pulling the turning chain too tight; keep the turning chain loose to ensure the edges remain straight. Always count your stitches at the end of every row, especially if you are a beginner, because it is easy to accidentally skip the final stitch in a row, which will lead to a slanted edge. When weaving in your ends, run the needle through the stitches in multiple directions to ensure the knot does not work loose over time. To adjust the size, simply add or subtract rows; every two rows added or removed will change the hat circumference by approximately 3/4 of an inch.
Frequently Asked Questions
Can I use a chunky weight yarn for this pattern?
Yes, but you will need to reduce the starting chain length and increase your hook size to at least 8.0 mm to keep the fabric from becoming too stiff and bulky.
How do I know if the hat will fit correctly?
Measure the rectangle before seaming. It should be roughly 1 to 2 inches smaller than your total head circumference to ensure it stays snug as the yarn stretches with wear.
Is this pattern suitable for complete beginners?
Yes, this is an excellent first project because it uses only the half-double crochet stitch and requires minimal assembly or complex shaping.
Am I allowed to sell hats made from this pattern?
You are welcome to sell finished items made from this pattern. Please credit the pattern designer in your listing to support small-scale creators.
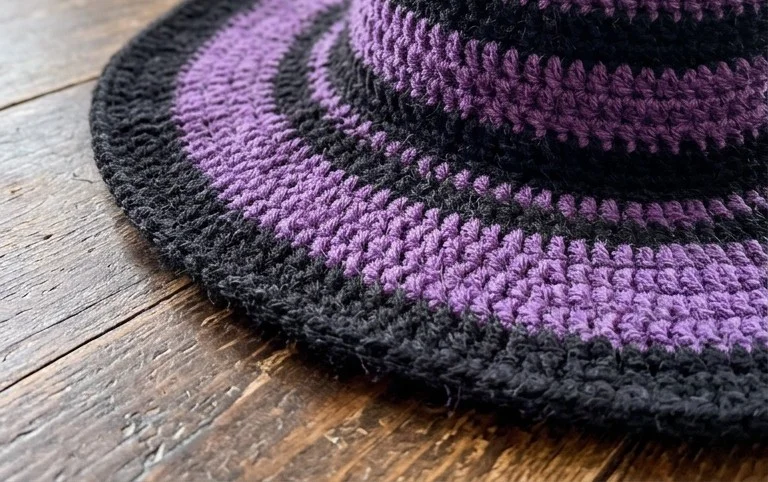
Finishing your pointy topper feels like a small victory, especially when you see how well the brim holds its shape against the crown. You can easily adapt these by swapping a stiff wool blend for a glittery metallic yarn if you want a more magical appearance for your next party. Post a picture of your finished work on social media so others can see your color choices in action. Browse through the rest of our seasonal collection for more free designs that help you expand your skills.