Easy Crochet Feather Stitch: Free Step-by-Step Pattern
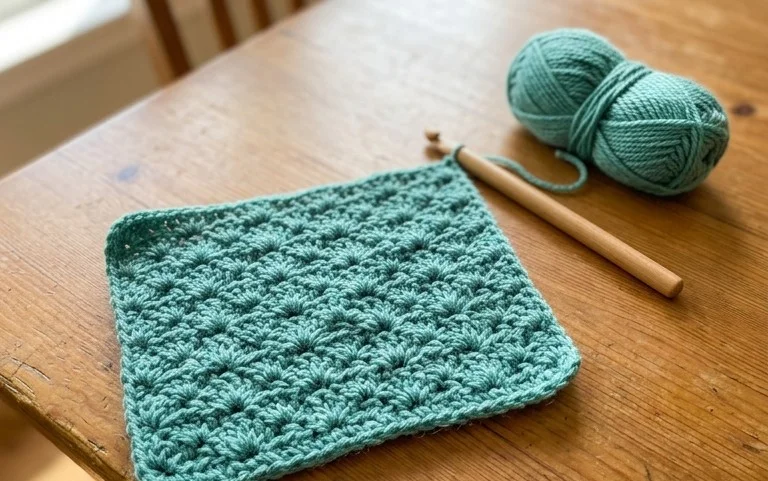
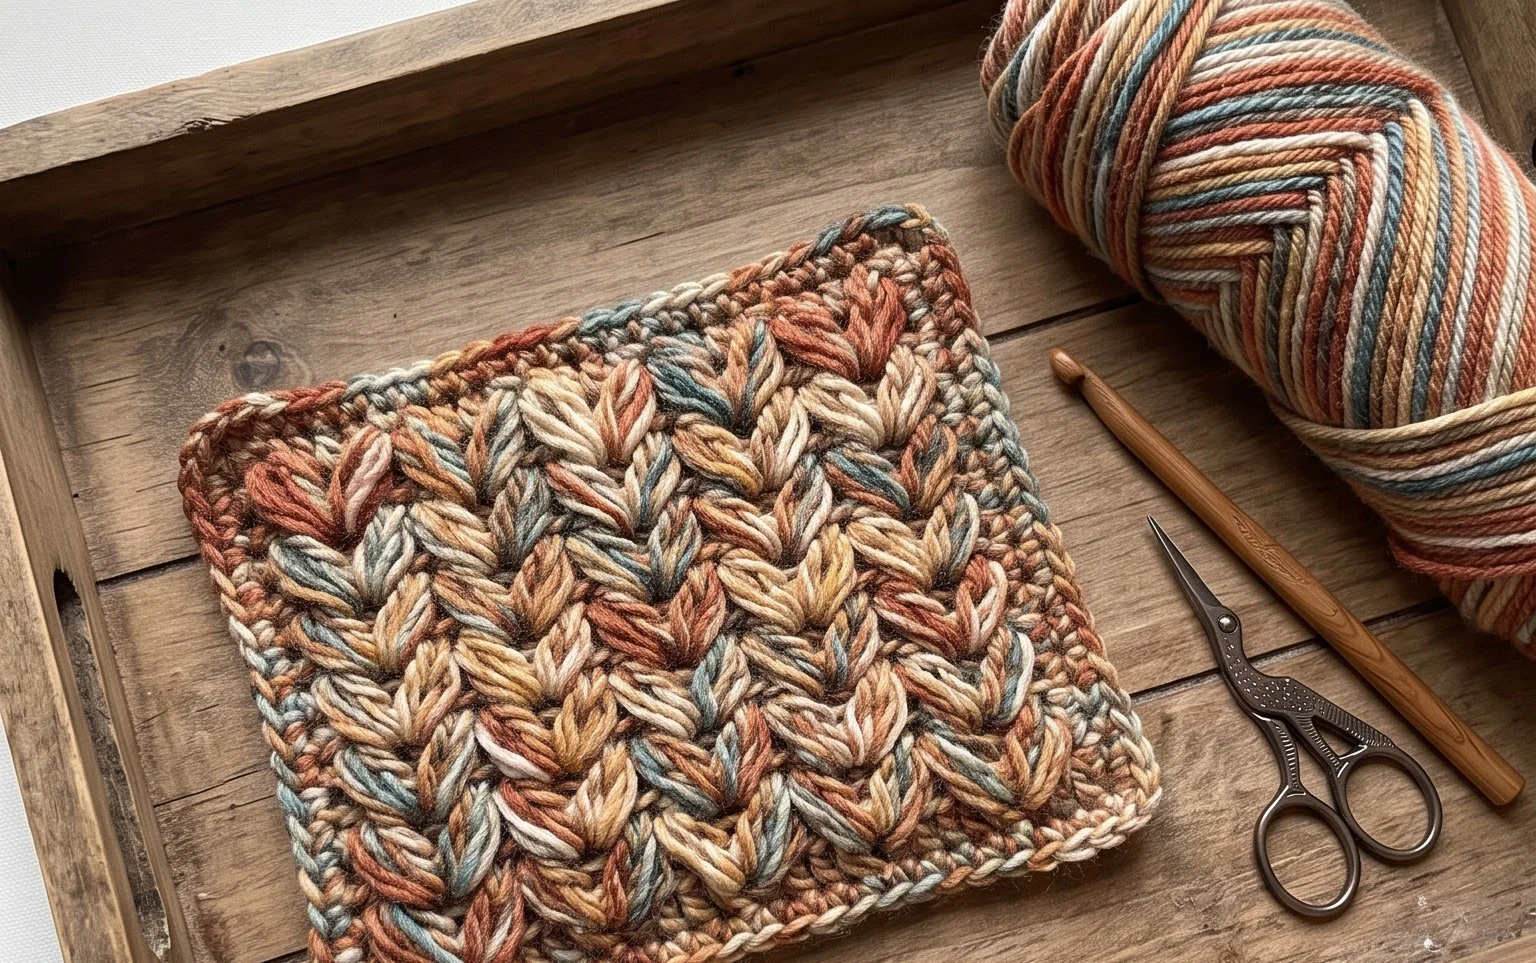
This feathered texture resembles delicate wings, creating a dense yet pliable fabric that feels wonderful in your hands. It is a fantastic project for anyone wanting to move beyond basic stitches into something with more character. Beginners find the rhythm of the V-shaped clusters quite meditative once they get the hang of the spacing. You gain confidence with yarn-overs and skipped stitches while building a piece that functions well as a washcloth, a decorative pillow cover, or a heavy winter cowl. We will break down every movement needed to achieve this consistent, leafy appearance without confusion.
Why You’ll Love This Pattern
This classic crochet dishcloth is designed using a thermal stitch variation that creates a thick, double-layered fabric. The texture is intentionally dense, providing enough scrub to handle stuck-on food while remaining gentle enough for non-stick cookware. Because it uses a simple repeat of half double crochet stitches worked into the third loop, it is a relaxing project that helps you master tension control without needing to track complicated stitch patterns. You will find that the finished fabric holds its shape remarkably well after repeated machine washing cycles.
I finally finished my first set of these dishcloths and they are much sturdier than the ones I used to buy at the store. The thickness is just right for scrubbing dishes and they did not lose their shape after I put them through the laundry.
— Sarah, home crafter
Pattern Overview & Skill Level
- Skill Level: Beginner
- Approximate Time: 60 to 90 minutes per dishcloth
- Construction: Worked in flat rows
- Finished Dimensions: 8 inches by 8 inches
Materials & Supplies Needed
- Yarn: Worsted weight (#4) 100% cotton yarn, approximately 75 yards per cloth. Cotton is essential for its high absorbency and heat resistance.
- Hook Size: 5.0 mm (H-8) crochet hook.
- Notions needed: Tapestry needle for weaving in ends and scissors.
- Safe yarn substitutions: You may use a cotton-linen blend for increased durability, though the cloth may become slightly more rigid. Avoid synthetic fibers like acrylic, as they do not absorb water effectively and will melt when touching hot pans.
Stitch Guide & Abbreviations (US Terms)
- ch = chain
- hdc = half double crochet
- hdc-tbl = half double crochet in the third back loop (the loop located just below the standard back loop of the stitch).
- st = stitch
- sl st = slip stitch
- YO = yarn over
Step-by-Step Pattern Instructions
This dishcloth is worked in a flat square, turning at the end of every row. The third loop technique creates a raised ridge that provides the scrubbing texture.
Dishcloth Body
- Row 1: Ch 30. Hdc in the third ch from hook and in every ch across. Turn. (28 sts)
- Row 2: Ch 2 (does not count as a stitch). Hdc-tbl in every st across. Turn. (28 sts)
- Rows 3-28: Repeat Row 2 until the piece measures 8 inches square.
- Final Row: Ch 1, sl st in every st across the final row to create a clean, non-stretching edge.
Finishing
Fasten off your yarn, leaving a six-inch tail. Use your tapestry needle to weave the tail back and forth through the base of the stitches on the back side of the work. Trim any excess yarn close to the fabric surface. If you notice the corners curling, lightly steam block the cloth by holding a steam iron three inches above the surface and pressing gently with your fingers to flatten the edges.
Care & Washing Instructions
- Machine wash on a warm setting (up to 104 degrees Fahrenheit) with like colors.
- Tumble dry on low heat or lay flat on a clean towel to air dry completely.
- Do not use fabric softener, as this leaves a waxy residue that reduces the cotton yarn’s ability to absorb water.
Pro Tips & Common Mistakes to Avoid
Achieving a consistent look in your dishcloth comes down to how you manage your tension. Keep your stitches tight, especially on the starting chain, so the edges do not flare outward. If you have trouble identifying the third back loop, pull the top of the stitch slightly toward you; the third loop is the horizontal strand located just below the two top loops of the stitch. Always count your stitches at the end of each row to ensure you have 28 stitches total, as missing one will turn your square into a trapezoid. If you want a larger cloth, you can add stitches in multiples of two to your starting chain, but keep in mind that larger sizes will require more yardage.
Frequently Asked Questions
Can I use a larger hook to make the cloth faster?
Using a larger hook will make the fabric loose and holey, which reduces the scrubbing power and causes the cloth to stretch out of shape quickly. Stick to the recommended 5.0 mm hook for a dense, durable result.
Is it okay to sell the items I make from this pattern?
Yes, you are welcome to sell finished dishcloths made from this design. Please credit the pattern origin in your shop listings to help other crafters find the tutorial.
Why does my dishcloth look like a parallelogram instead of a square?
This happens when you accidentally drop a stitch at the end of a row or add one during the turning process. Always count your stitches after Row 1 and ensure every subsequent row maintains that same count.
Can I change the yarn color midway through?
Changing colors is a great way to use up small scraps. To do this, join your new color with a slip knot on the final pull-through of the last stitch of the previous row to keep the color transition neat.
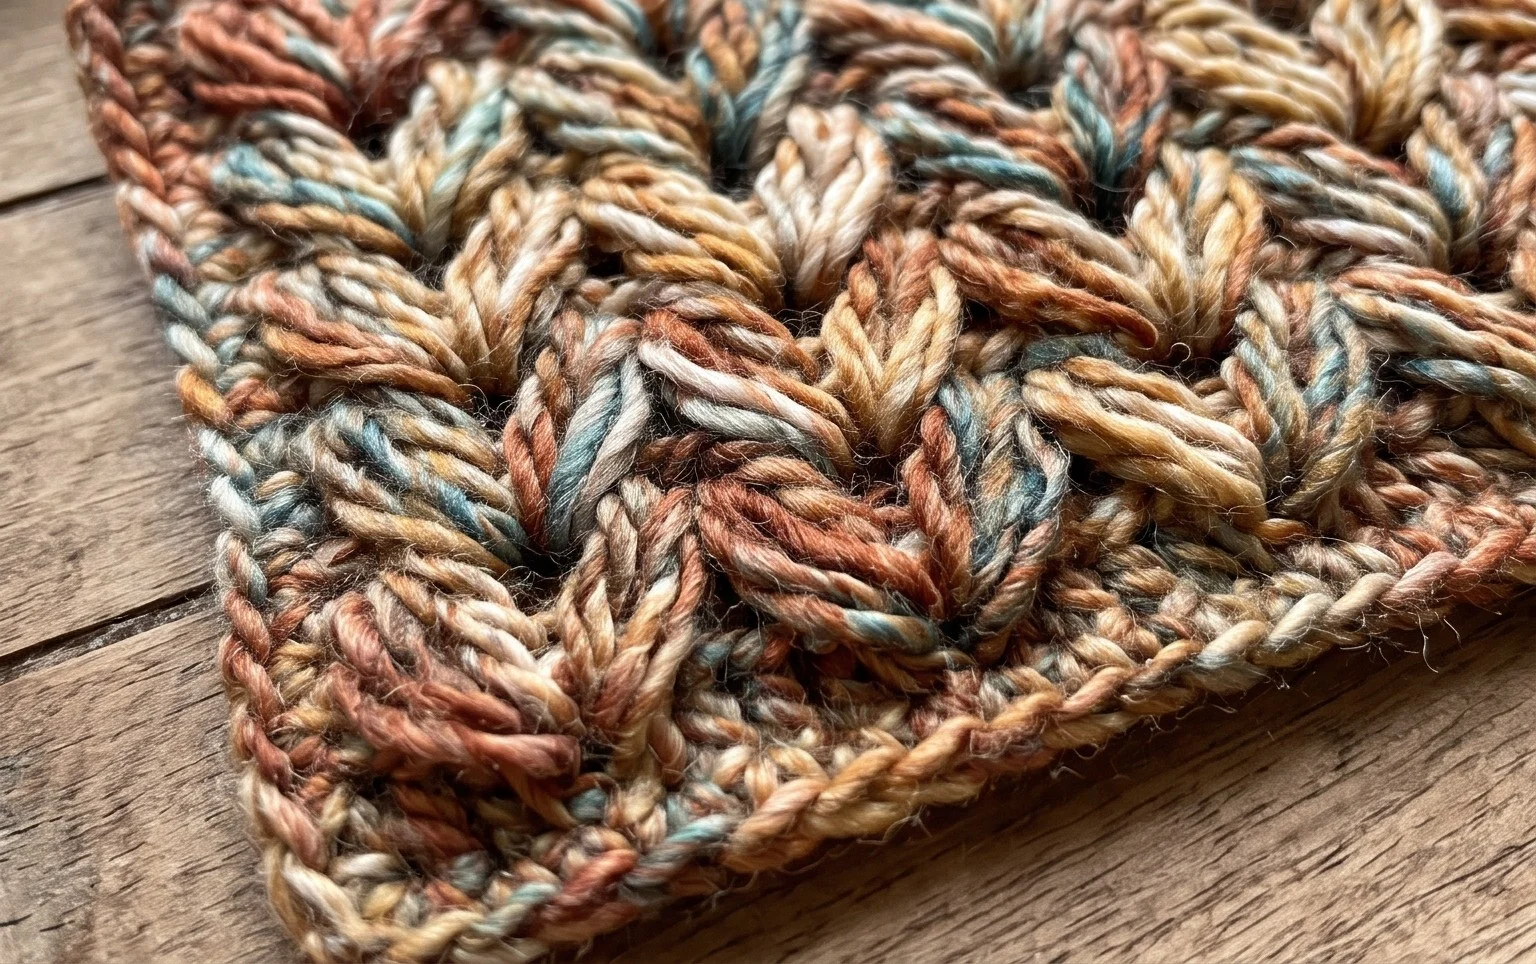
Your finished project showcases a beautiful, dense fabric that brings warmth to your home. You can create different looks by using a variegated cotton yarn for a softer effect or by switching to a wool blend for extra cold weather insulation. If you find yourself enjoying this process, please consider tagging your progress in our online community so others can see your color choices. Exploring additional free patterns on our blog remains the best way to continue building your skills and finding new inspiration for your craft.