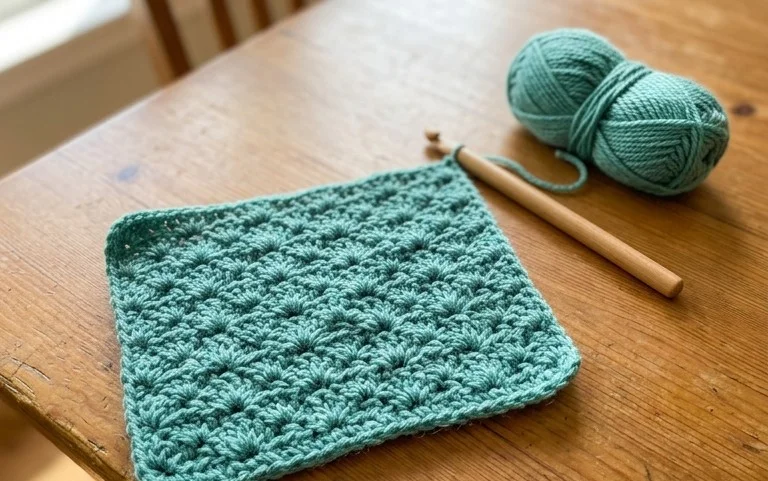
Moss Stitch Crochet Tutorial: Easy Step-by-Step Guide
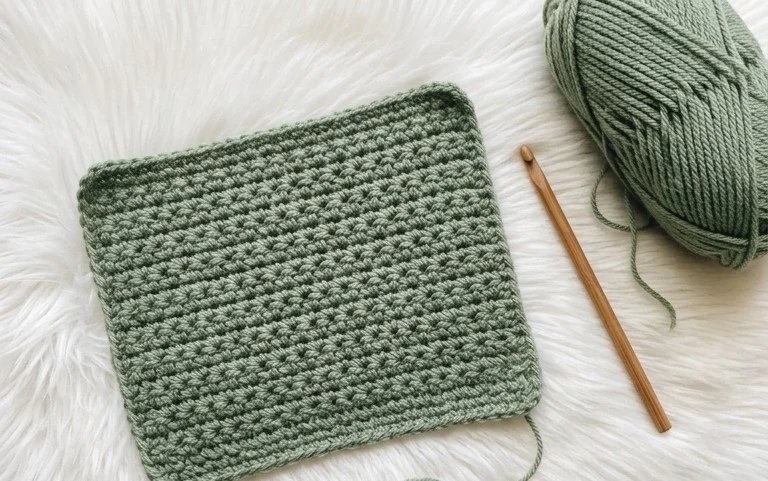
This fabric feels like a woven linen cloth with a dense, squishy texture that remains soft against the skin after several washes. Beginners often find this pattern rewarding because the alternating sequence of single crochet stitches and chain spaces prevents the work from curling at the edges. You will quickly notice how the simple rhythm calms your mind during long evenings or while waiting for an appointment. This guide covers how to set your foundation, manage the tension between your chains, and avoid the common mistake of skipping the final stitch in each row.
Why Crocheters Love It
This beginner-friendly classic granny square project relies on the simple, rhythmic repetition of double crochet clusters. It is an excellent way to learn the fundamentals of working in the round while simultaneously building a stash-busting project that uses up small, leftover yarn balls. Because you carry your work with you easily, it remains a portable option for busy schedules. You can assemble these squares into blankets, bags, or pillows, making the design as versatile as your imagination allows.
I managed to finish my first set of squares in a single weekend. The instructions are so clear that I stopped worrying about my stitch count halfway through and just enjoyed the process.
— Sarah, casual crafter
Pattern Overview & Skill Level
- Skill Level: Beginner
- Approximate Time: 30 to 45 minutes per square
- Construction: Worked in rounds starting from a center ring, creating a square shape
- Finished Dimensions: Approximately 5 inches by 5 inches using medium weight yarn
Materials & Supplies Needed
- Yarn: Worsted #4 weight, acrylic or cotton blend, approximately 15-20 yards per square.
- Hook Size: 5.0 mm (US H-8).
- Notions: Tapestry needle for weaving in ends, sharp scissors, and optional stitch markers for keeping track of corner spaces.
- Safe yarn substitutions: You can use DK weight yarn with a 4.0 mm hook for a smaller, tighter square, or bulky yarn with a 6.0 mm hook for a larger, quicker square. Adjusting weight will change the final dimensions significantly.
Stitch Guide & Abbreviations (US Terms)
- ch: Chain
- sl st: Slip stitch
- dc: Double crochet
- dc-cluster: A set of 3 dc stitches worked into the same space
- sp: Space
- rnd: Round
- st/sts: Stitch/stitches
Step-by-Step Pattern Instructions
Work each round with consistent tension to ensure the square lies flat. Always join at the end of each round to maintain the square’s geometry.
- Rnd 1: Start with a magic ring or ch 4 and sl st to the first chain to form a ring. Ch 3 (counts as first dc), work 2 dc into the ring, ch 2, 3 dc, ch 2 into the ring 3 times. Join with a sl st to the top of the starting ch-3. (12 sts, 4 ch-2 corner spaces)
- Rnd 2: Sl st into the next two sts and into the first ch-2 corner space. Ch 3, 2 dc, ch 2, 3 dc in the same corner space. Ch 1, skip next 3 sts, (3 dc, ch 2, 3 dc) in the next ch-2 corner space. Repeat from * to * two more times. Ch 1, join with a sl st to the top of the starting ch-3. (24 sts, 4 corner spaces, 4 ch-1 side spaces)
- Rnd 3: Sl st into the next two sts and into the next ch-2 corner space. Ch 3, 2 dc, ch 2, 3 dc in the same corner space. Ch 1, 3 dc in the next ch-1 sp, ch 1, (3 dc, ch 2, 3 dc) in the next ch-2 corner space. Repeat from * to * two more times. Ch 1, 3 dc in the last ch-1 sp, ch 1, join with a sl st to the top of the starting ch-3. (36 sts, 8 ch-1 side spaces)
- Rnd 4: Continue in this pattern, adding one additional 3-dc cluster along each side for every subsequent round. Fasten off and weave in all yarn ends securely on the wrong side.
Care & Washing Instructions
- Machine wash on a gentle cycle in cool water with mild detergent.
- Lay the square flat on a clean towel to air dry, reshaping it while damp to ensure perfectly square corners.
- Avoid using high heat in a dryer, as this may cause acrylic fibers to melt or natural fibers to shrink unevenly.
Pro Tips & Common Mistakes to Avoid
Consistent tension is the most important factor in preventing the square from curling or rippling. If your square looks wavy, your hook is likely too large for your yarn weight. Use a stitch marker in the first stitch of every round to avoid accidentally skipping the joining stitch. Weave your yarn ends through the center of the double crochet clusters rather than across the gaps to keep the back of your work looking clean. To make a larger square, simply continue repeating the logic of Rnd 4, adding one more 3-dc cluster in every ch-1 space along the sides for every new round you add.
Frequently Asked Questions
Can I use a different yarn weight for this pattern?
Yes, you can substitute yarn weights easily. Just match your hook size to the yarn label recommendation and expect the final size of the square to change accordingly.
Is this project suitable for a complete beginner?
This pattern is highly recommended for beginners because it uses only basic chains and double crochets. The repetitive nature makes it easy to practice consistent stitch tension.
How do I join these squares together into a blanket?
You can join them using a whip stitch with a tapestry needle or by using a single crochet join along the edges. Ensure your edges are aligned before starting to keep the seams straight.
May I sell the items I create from this pattern?
You are welcome to sell finished products you make yourself, but please do not sell or redistribute the written instructions. Always credit the design if posting images of your work online.
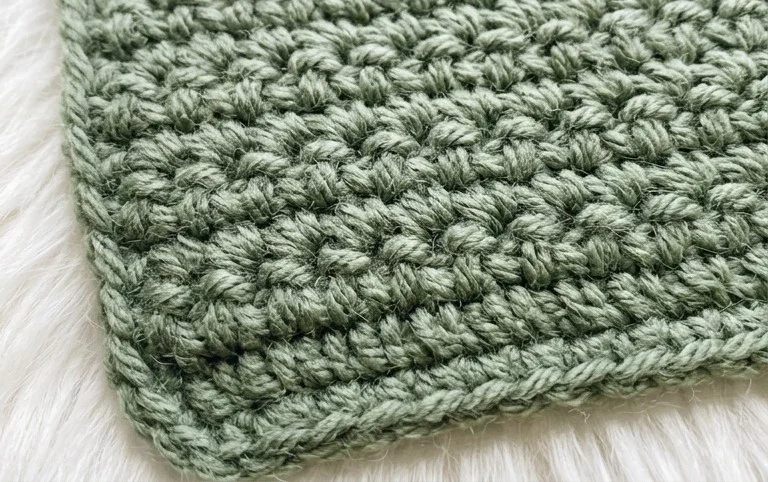
Your finished project now features a clean, woven appearance that holds its shape well even after constant use. You can easily modify the look by switching to a variegated yarn for a painted effect or by working the rows in wide, contrasting stripes to highlight the geometry of the piece. Please share a photo of your progress on social media so others can see your color choices. More simple patterns await on the blog if you want to keep your hands busy with other useful home goods.